Install Guide#
Spyder is relatively easy to install on any Windows, Linux or macOS system meeting our basic system requirements. Just make sure to read and follow these instructions with care.
If you have questions or run into problems, please check our FAQ, consult our troubleshooting guide and search the issue tracker for your error message and problem description. These methods generally fix or isolate the great majority of install-related difficulties. Thanks!
Important
For most users, our Standalone installers are the most straightforward and robust option to obtain Spyder, and support extended functionality over other installation methods. Easy installation of third-party Spyder plugins and full Variable Explorer support for custom-installed packages are both currently under active development; if you require these capabilities now, using a Conda-based distribution is the currently recommended alternative.
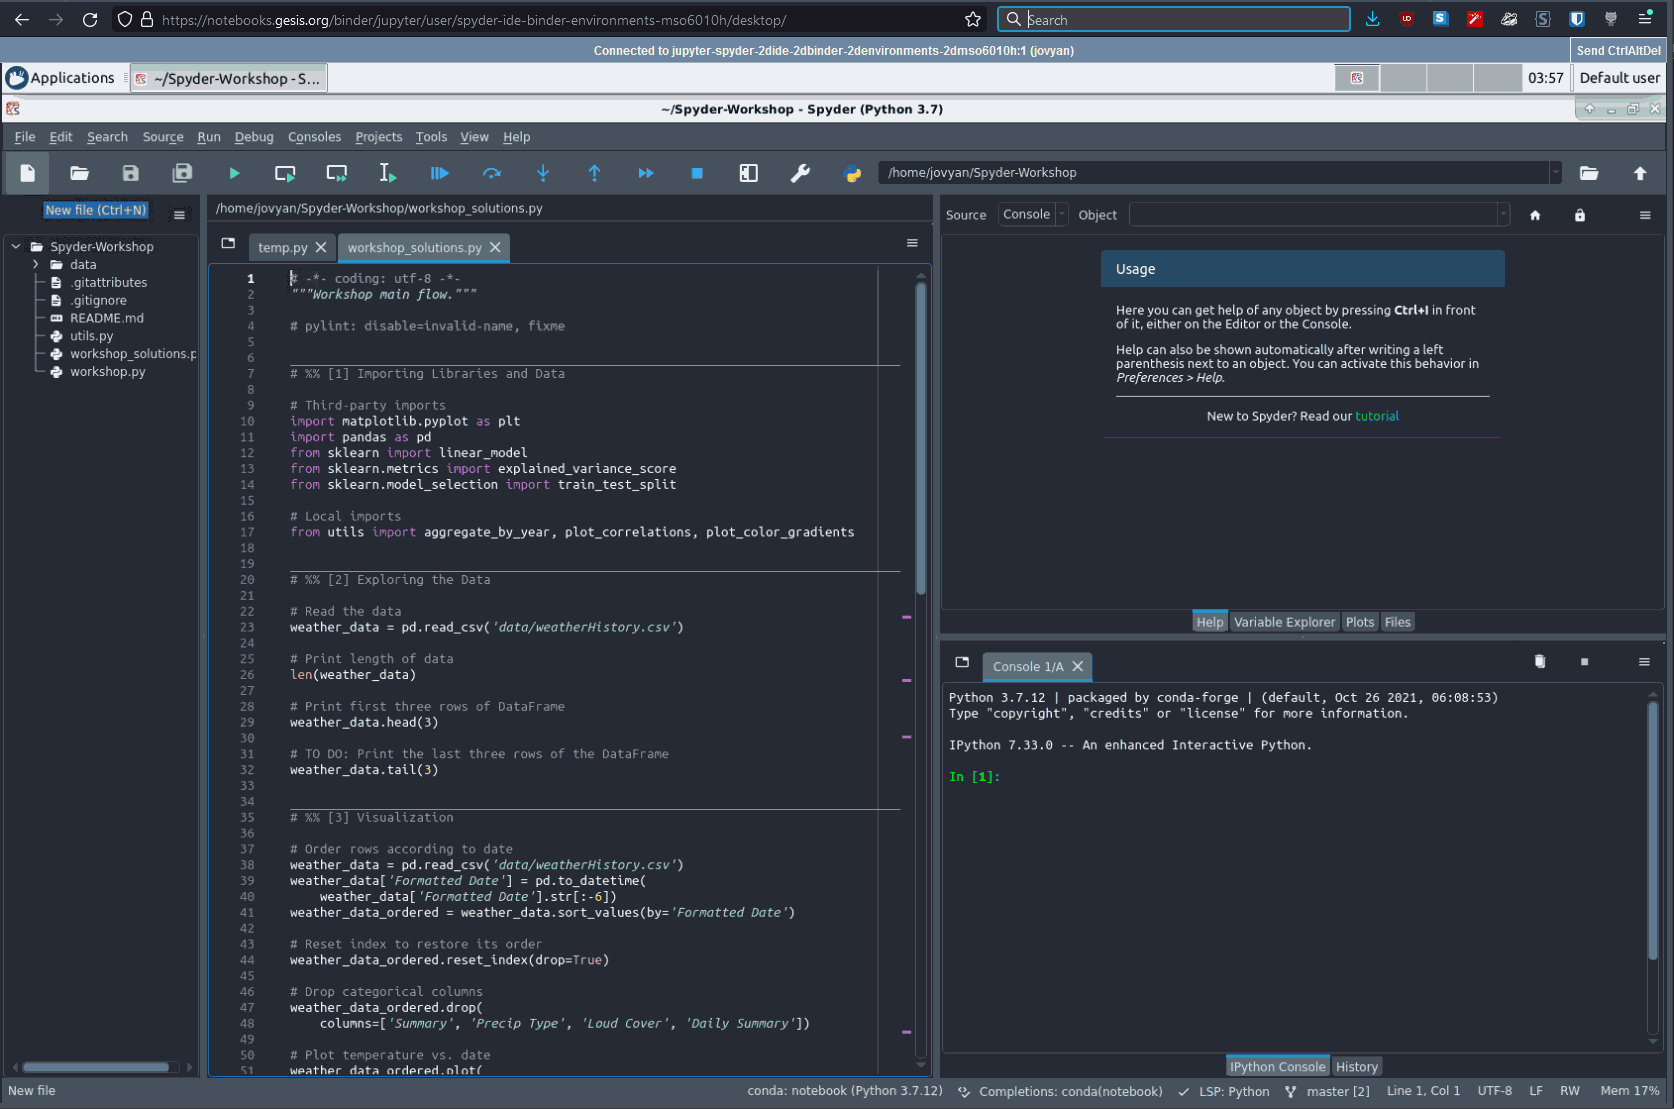
Try Spyder online#
Want to try out Spyder before installing it? With Binder, you can open a functional copy of Spyder online that runs right in your web browser, with no installation needed. Visit the Spyder Binder page to get started using Spyder.
Standalone installers#
The standalone installers are recommended for most users on Windows, macOS and Linux. They work like any other IDE, where Spyder can be installed and updated independently of the Python environments you use to run your code. This avoids the problems with incompatible packages and broken installations users can face when managing Spyder’s installation themselves, mixed with their own working environments.
The installers include a built-in Python environment with the most common scientific libraries (e.g. NumPy, SciPy, Pandas, Matpotlib, etc), which can be used out of the box for basic data analysis tasks. To use additional packages, we currently recommend connecting an external Python distribution (such as Miniforge (recommended), Anaconda, Miniconda, or Python.org) to your standalone copy of Spyder. For more information on this, see our FAQ entry on the subject.
Note
A built-in plugin manager allowing you to easily install Spyder plugins not already bundled with the installers is being developed for Spyder 6.2. For now, if you require third-party plugins, we recommend installing Spyder via a Conda-based distribution.
Downloading and installing#
To download the supported Spyder installer for your platform, simply click the appropriate link below; you can also browse all installer versions from the downloads page.
Then, double-click the downloaded file to open the installer on Windows and macOS, or run it with bash in a terminal on Linux (bash path/to/downloaded/Spyder-Linux-x86_64.sh).
If a security warning pops up, you may need to click Yes, OK, Open, Allow or similar; or on Windows, More info followed by Run anyway.
Running from a standalone install#
To run Spyder when installed standalone, you can simply use your operating system’s typical method of launching applications, such as opening it from the Start menu on Windows (or the Taskbar, if you’ve pinned it there), from Launchpad, Spotlight or the Applications folder on macOS (or the Dock, if you’ve added it there), or your preferred application launcher on Linux.
Updating a standalone install#
By default, Spyder checks for updates automatically on startup, and you can also check manually with . Standalone installers for Spyder 6+ include update functionality built right into the application, which after checking for updates will display a prompt to automatically download and install the latest version. On earlier versions, you’ll need to manually download and install the latest release (if on Windows, make sure to remove the old version first from Control Panel/System Settings).
Conda-based distribution#
Spyder is included by default in the Anaconda Python distribution, which comes with everything you need to get started in an all-in-one package. It can also be easily installed in the much lighter-weight Miniforge (recommended) or Miniconda, which include just the Conda/Mamba package and environment manager. They allow you to create your own environments with any packages you need, with Miniforge defaulting to the Conda-Forge channel instead of the commercial Anaconda channel. This is our recommended installation method if you require third-party Spyder plugins or Variable Explorer compatibility with inspecting objects from specialized libraries (e.g. PyTorch or Scikit-Learn), as support for both of these in our standalone installers is still under active development.
Conda environment#
To ensure you get the most reliable and up-to-date Spyder version and avoid any conflicts with other packages, we strongly recommend installing Spyder into its own dedicated Conda environment.
Note
If using Mamba, substitute mamba for conda in the following commands.
Installing with Conda#
For a full install of Spyder and all optional dependencies, run the following command in your Anaconda Prompt (Windows) or terminal:
conda create -c conda-forge -n spyder-env spyder numpy scipy pandas matplotlib sympy cython
For a minimal install without the optional functionality and integration with the above packages, you can instead run:
conda create -c conda-forge -n spyder-env spyder
This installs Spyder into a new environment called spyder-env, using the more up-to-date, non-restricted Conda-Forge channel.
To make sure future installs/updates in this environment also use Conda-Forge and are faster and more reliable, make sure to set it as your environment’s default channel with strict channel priority enabled, if this isn’t the case already (as it is with Miniforge or if you’ve manually configured it):
conda activate spyder-env
conda config --env --add channels conda-forge
conda config --env --set channel_priority strict
Here’s a summary of the main steps.
Running with Conda#
After installing, you can run Spyder by the same normal operating system methods as with the standalone installers; just make sure to launch the shortcut with (spyder-env) in its name.
You can also launch it directly from the Terminal (the Anaconda Prompt, on Windows) by typing conda activate spyder-env to active its environment and then spyder to launch it.
See our FAQ question for more information about how to use Spyder with your existing Conda environments.
Updating with Conda#
With any Conda-based distribution and Spyder installed in its own environment (as we strongly recommend), run the following in your system terminal (or Anaconda Prompt if on Windows) to activate the environment and update Spyder:
conda activate spyder-env
conda update -c conda-forge spyder
In case you get an error trying to update, just remove the existing environment (if using one other than base):
conda remove -n spyder-env --all
And then recreate a fresh one.
Anaconda base#
While we recommend always using a dedicated environment, with Anaconda you can also run the bundled copy of Spyder from the built-in base environment.
Caution
The bundled Spyder version can often be quite out of date, missing new features and bug fixes from the latest version, and if you install, change or remove other packages, there is a significant chance of dependency conflicts or a broken Spyder installation. Therefore, we recommend installing Spyder into a new Conda environment to avoid all these issues.
Running with Anaconda#
To run the bundled version of Spyder after installing Anaconda, simply launch it like with any other application from your operating system’s application launcher (e.g. the Start Menu on Windows, or Spotlight/Launchpad on macOS).
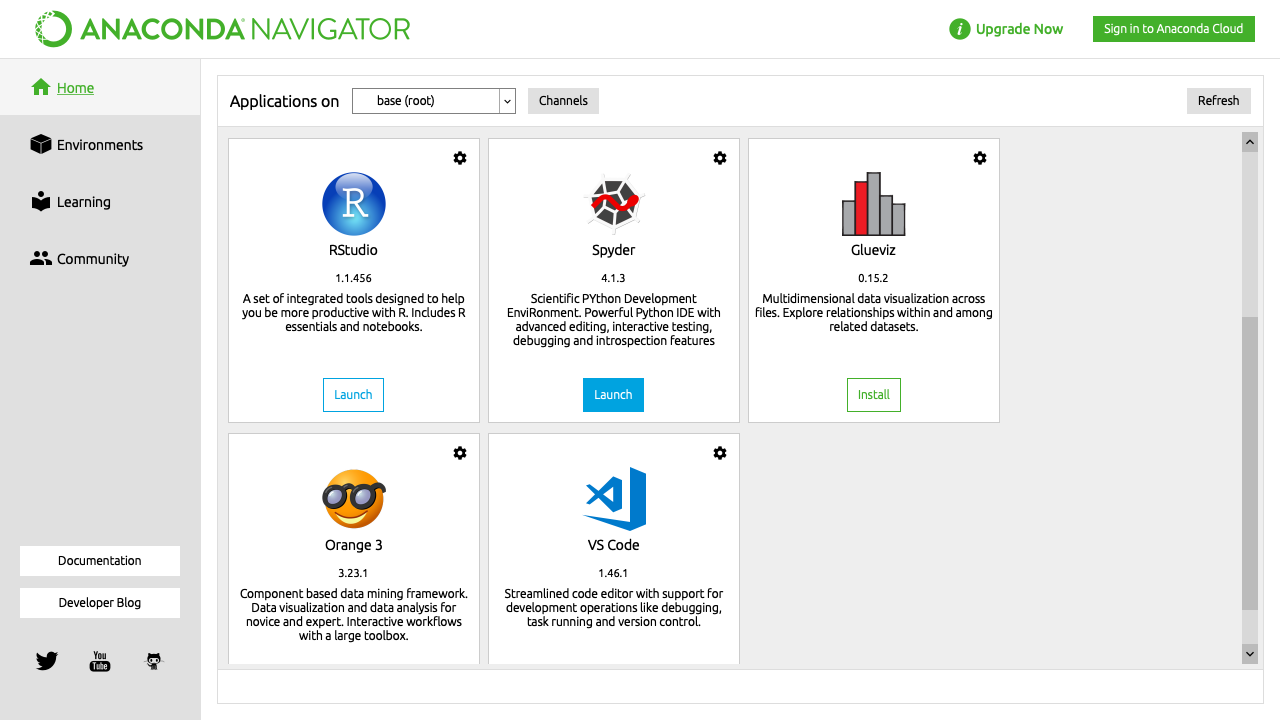
While not recommended, it can also be started from Anaconda Navigator by scrolling to Spyder under Home and clicking Launch.
If Spyder does not start via this method or you prefer to use the command line, open your system terminal (Anaconda Prompt on Windows), and type conda activate base then spyder.
Updating with Anaconda#
With Spyder installed in Anaconda’s base environment, first update the anaconda meta-package, and then Spyder itself.
In your system terminal (or Anaconda Prompt if on Windows), run:
conda update anaconda
conda install spyder=X.Y.Z  # Replace w/latest Spyder version, e.g. 6.1.4
Note
These commands also update all your other packages, which is one reason we strongly recommend you use an isolated conda environment to avoid any potential unintended effects on your environment.
In case you get an error resolving dependencies, try uninstalling Spyder and re-installing it:
conda remove spyder
conda install spyder
Using pip#
Caution
While this installation method works fine in most cases, installing Spyder (and other PyData-stack packages) with pip can occasionally lead to tricky issues, particularly if mixed with a Conda install of Python. Therefore, we generally recommend our Standalone installers or installing via Conda instead.
You can install Spyder with the pip package manager, which is included by default with most Python installations. Before installing Spyder itself by this method, you need to download a recent version of the Python programming language if it isn’t already installed in your system.
Note
Due to a known issue with some DEB-based Linux distributions (Debian, Ubuntu, Mint), you might also need to install the pyqt5-dev-tools package first, with sudo apt install pyqt5-dev-tools.
You’ll first want to create and activate a virtual environment in which to install Spyder.
Note
There are many environment management tools available; the following examples will use Python’s built-in venv.
On macOS/Linux/Unix, run the following in your system terminal:
python3 -m venv spyder-env
source spyder-env/bin/activate
Or on Windows, execute:
python -m venv spyder-env
spyder-env\Scripts\activate.bat
After activating your environment, to install Spyder and its optional dependencies, run:
pip install spyder numpy scipy pandas matplotlib sympy cython
Or for a minimal installation, run:
pip install spyder
To launch Spyder after installing it, ensure your environment is activated and run the spyder or spyder3 command.
And to update Spyder, with your Spyder environment activated, run:
pip install --upgrade spyder
Alternative methods#
Caution
While we describe alternative Spyder installation options for users who prefer them, as these are third-party distributions that we have no direct involvement in, we are usually not able to offer useful individual assistance for problems when installing via these alternative methods.
Furthermore, the Spyder versions they install may be out of date relative to the current release, and thus be missing the latest features and bug fixes.
Therefore, we recommend you switch to our Standalone installers if you encounter installation issues you are unable to solve on your own.
Windows#
Spyder is included in the WinPython scientific Python distribution, along with many other common numerical computing and data analysis packages. You can use Spyder immediately after installing, similar to Anaconda.
macOS#
Spyder is available as a cask through Homebrew.
To install it using the brew package manager, run:
brew install --cask spyder
It is also available as a a port through MacPorts.
To install it using the port package manager, run:
sudo port install py313-spyder
Linux#
Spyder can be installed via third-party distro packages on most common Linux distributions.
Launching Spyder installed this way will generally be the same as any other distro-installed application.
Alternatively, it can be launched from the terminal with spyder (or spyder3, on older versions of some distros).
Ubuntu/Debian#
Spyder is available as a Ubuntu package and a Debian package.
It can be installed from your distribution’s graphical package manager, or via apt on the command line:
sudo apt update
sudo apt install spyder
Other distributions#
Spyder is also available in other GNU/Linux distributions, including:
Please refer to the links or your distribution’s documentation for how to install Spyder.
Development builds#
If you want to try the next Spyder version before it is released, you can! You may want to do this for fixing bugs in Spyder, adding new features, learning how Spyder works or just getting a taste of what the IDE can do. For more information, please see our Contributing Guide, and for further detail consult the Spyder developer documentation.
Additional help#
Run in to a problem installing or running Spyder? Read our Troubleshooting Guide.
Looking for general information about Spyder and its ecosystem? See our main website.
Need to submit a bug report or feature request? Check out our GitHub repository.
Want development-oriented help and information? Consult our developer docs.
Have a help request or discussion topic? Subscribe to our Google Group.